
This tutorial shows you how easy red eye removal is using GIMP (Gimp – Open source image retouching and editing tool.). Red eye removal is so simple, it is just a matter of selecting the right filter.
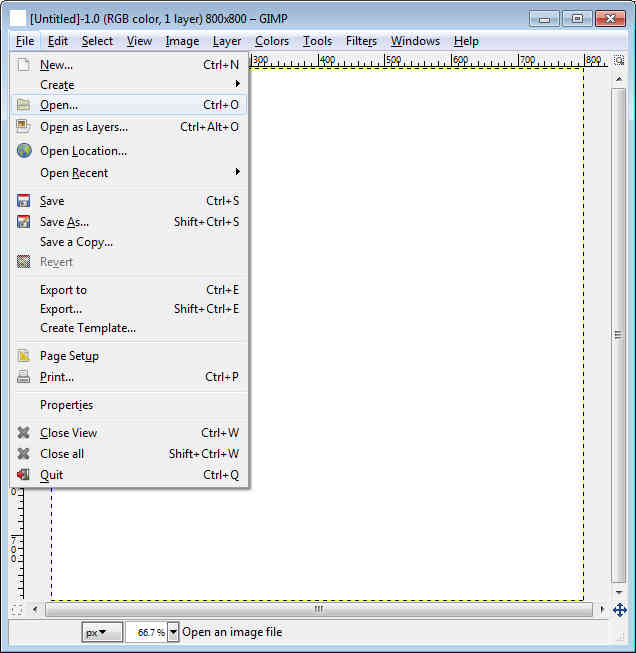
First we need to locate a picture to remove red eye from. Do this by opening the picture needing edits: Go to File then Open…
Red Eye The Bane of All Photographers
Locate the file you need to correct, In my case it was located on the desktop, click “open”.

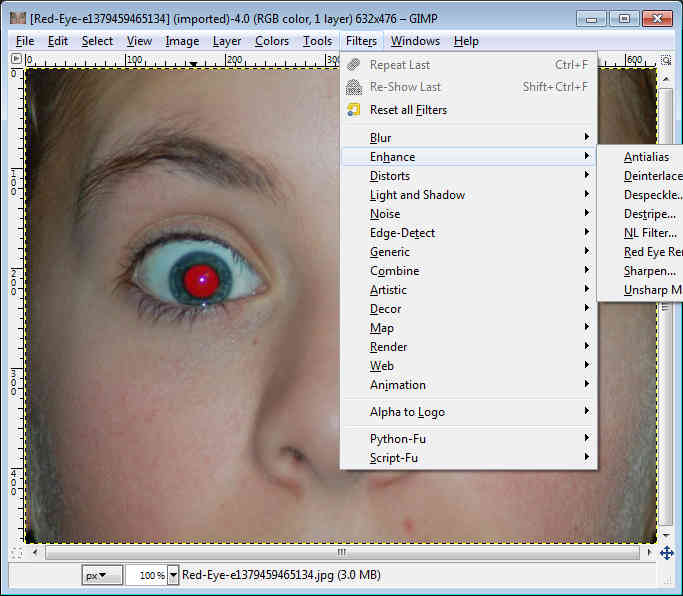
Now you have your image that needs to be corrected. Now, to get down to business, getting rid of those demonic eyes. To do this go to Filters, then enhance, then select “Red eye removal…”
After opening this, you should immediately get the following window with options to remove your demonic eyes.
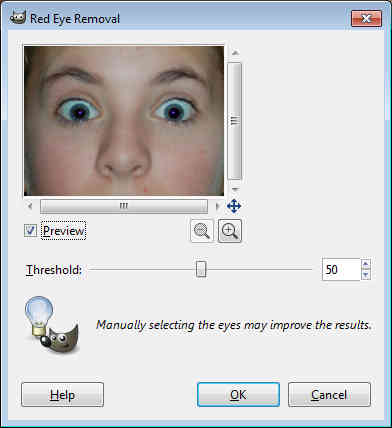
The Key Is Adjusting The Filter
Adjusting the threshold slider will give you different color ranges and results. For us, using around 50 seems to do the trick without altering our color too much. Click “ok” to apply the filter.


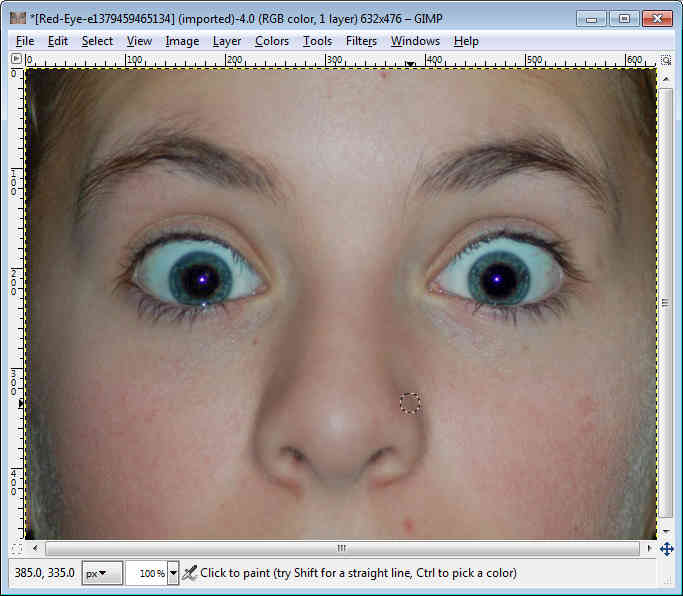
The red eye is removed, that’s what we’re aiming for, normal blue eyes without any red lasers shooting out of them.
Wow that was easy, even a tennager can do it. Oh right, your teenager already knows how and now so do you.


About the author