典型的には、ユーザーからのインプットに対してBotは応答を返しますが、いくつかのケースではインプットなしでBotから直接ユーザーにメッセージを送りたいケースがある。このようにプロアクティブにBotからChannel(Skype等)にメッセージ送る方法は正式ドキュメントとしてまとまっているので参考にして頂きたい。
https://docs.microsoft.com/en-us/bot-framework/dotnet/bot-builder-dotnet-proactive-messages
少しわかりにくいところもあったので、この記事で補足しておこうと思う。
ここでは最もシンプルなアドホックにプロアクティブ メッセージをSkypeに送る手法について考えてみたいと思う。ただし、宛先はシングルユーザーではなくグループとする。おそらく業務で利用する際はグループの方が便利なケースが多いだろう。
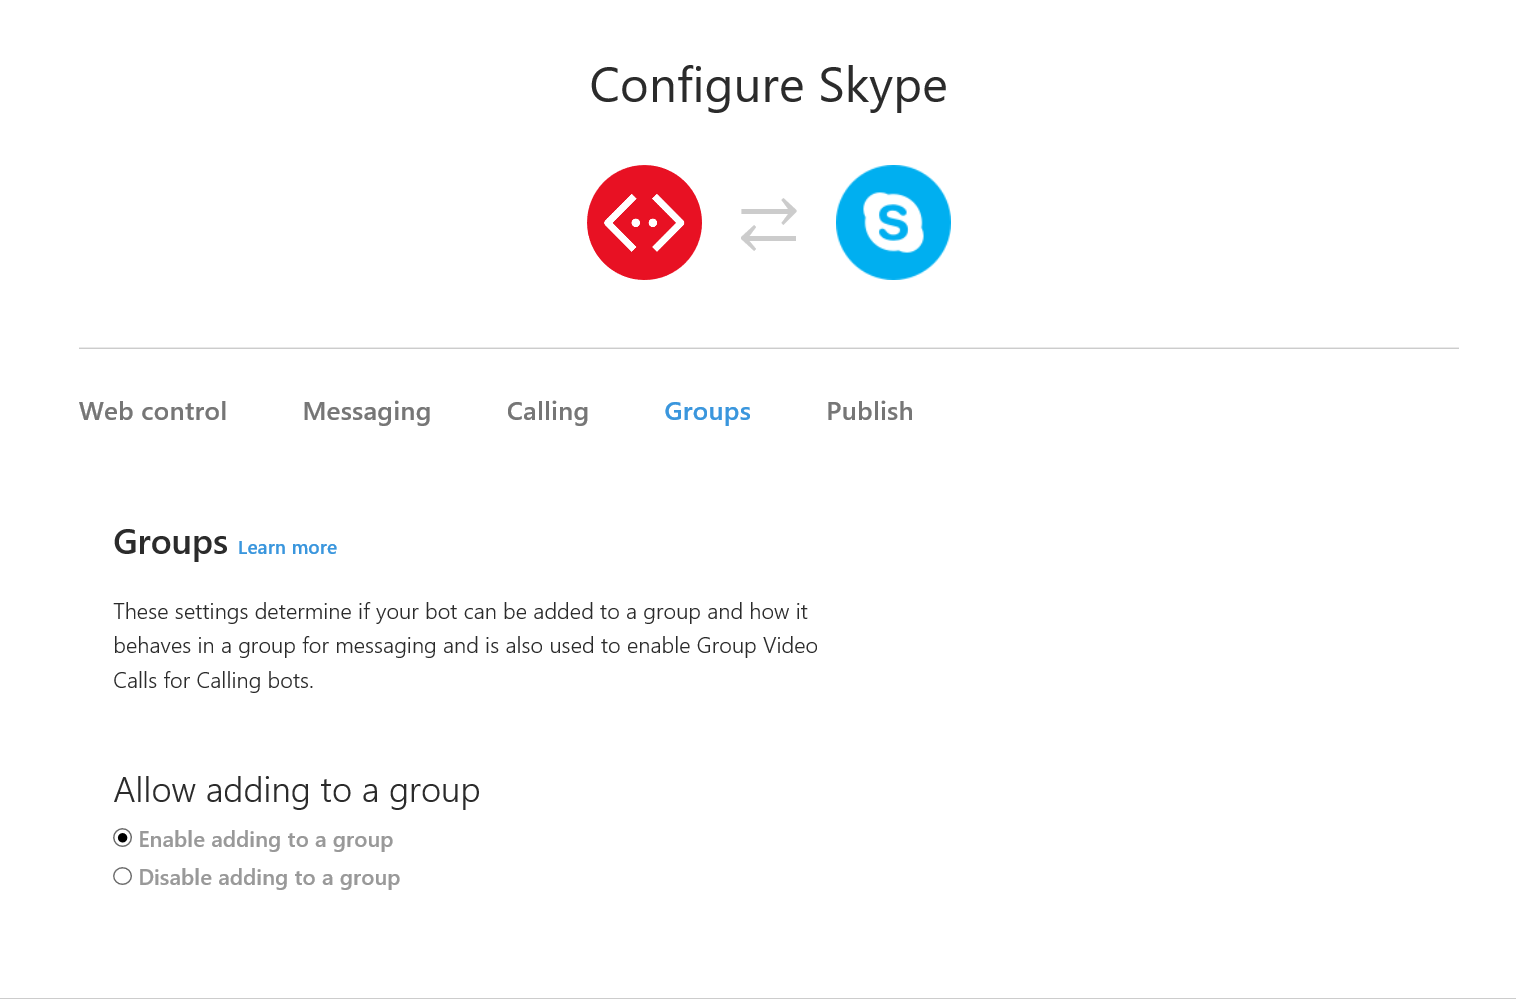
さて、グループ送信する場合、https://dev.botframework.com/ で登録したBotのSkype Channelで*** Enable adding to a group*** の設定が必要だ。これを忘れるとSkypeのグループにBotを追加することができない。
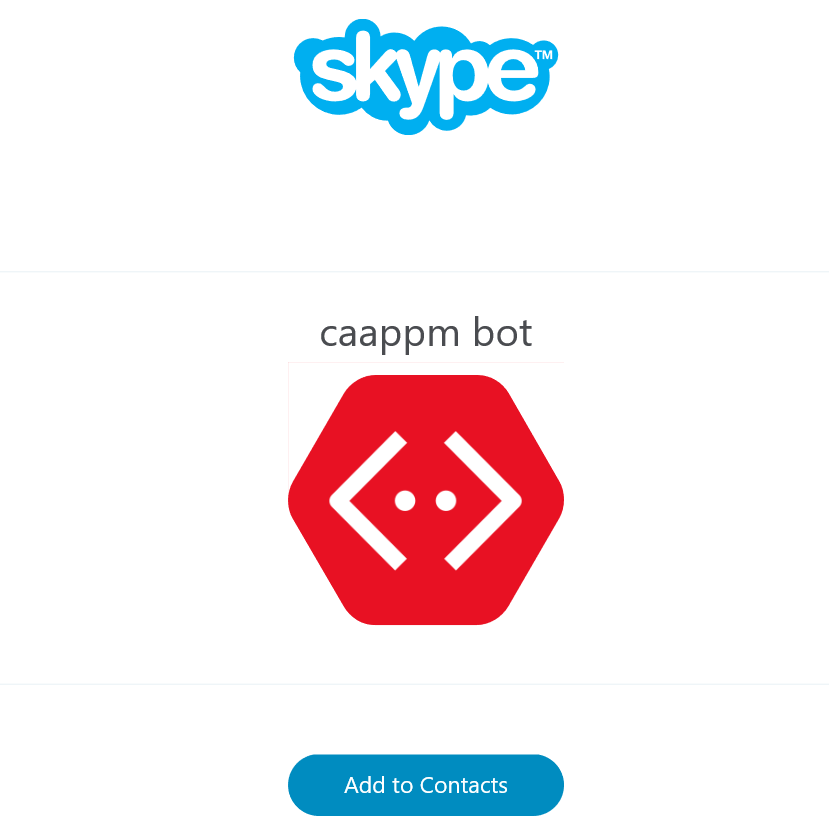
当然ながらAdd to Contactで作成したBotをSkypeの連絡先リストに追加する必要がある。
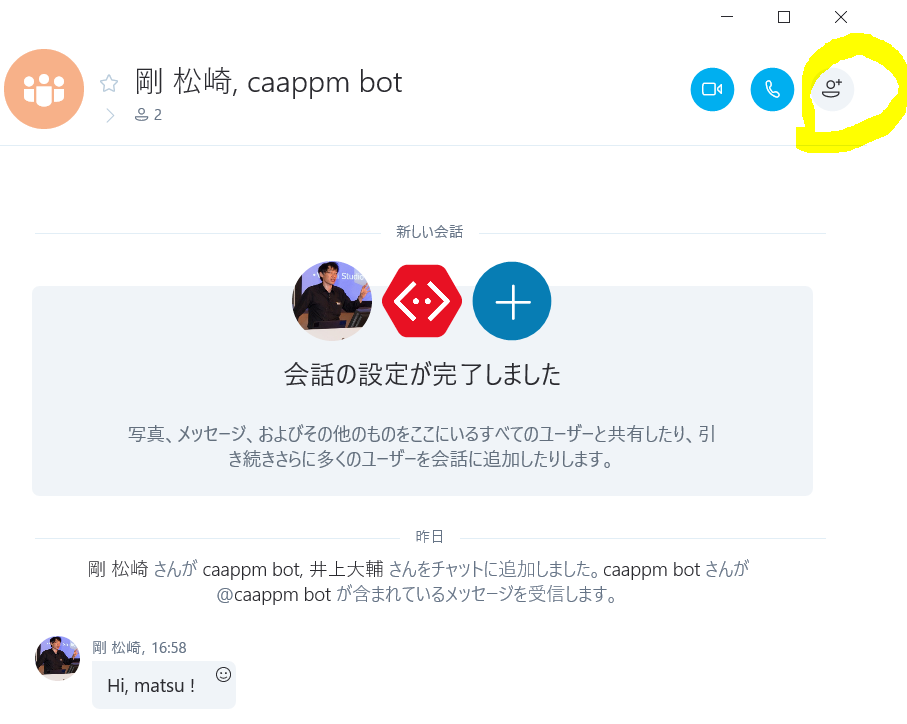
正常に設定が出来ていれば右上のボタンからBotをグループに登録できるようになる。
問題なければ気にする必要はないが正常にグループ登録が行われると以下のようなメッセージをBotが受信するはずだ。
{
    "membersAdded": [
        {
            "id": "29:1LrXXXXXXXXXXXXXXXXXXFOlRjZZ9fW6Up5hXXXXA"
        },
        {
            "id": "28:XXXXX-bb62-4c0XXXXXX2c"
        },
        {
            "id": "29:1eXXXXXXZuq2bQfXXXXXr3"
        }
    ],
    "type": "conversationUpdate",
    "timestamp": "2017-07-26T08:15:06.073Z",
    "id": "f:c21bbf24",
    "channelId": "skype",
    "serviceUrl": "https://smba.trafficmanager.net/apis/",
    "from": {
        "id": "29:1eVym5XBd7d8Jlla5oZuq2bQfHizXXXXXXXXXXXXXXXXXX"
    },
    "conversation": {
        "isGroup": true,
        "id": "19:a912218XXXXXXXX280096d@thread.skype"
    },
    "recipient": {
        "id": "28:d1XXX58-bb62-4c03-8303-XXXXXXXXXXX",
        "name": "caappm bot"
    }
}
Bot にメッセージを送る際に気を付けておくことは以下のように@でbotを指定したうえでSkypeからメッセージを送らなければBotまでメッセージがとどかない。送信した全メッセージがBotに送られるわけではないので注意が必要だ。(結構忘れがちなので注意して欲しい)
@caappm bot にメッセージをおくるぞー。
無事に送信できた場合はBotが以下のメッセージを受信する。ここで取得したConversationId等は次にプロアクティブなメッセージを送る際の宛先を示す重要な値だ。
{
    "text": "@caappm bot HI",
    "type": "message",
    "timestamp": "2017-07-26T08:17:56.245Z",
    "localTimestamp": "2017-07-26T17:17:56.245+09:00",
    "id": "1501057076242",
    "channelId": "skype",
    "serviceUrl": "https://smba.trafficmanager.net/apis/",
    "from": {
        "id": "29:1eVym5XBd7d8Jlla5XXXXXXXXXXX",
        "name": "Tsuyoshi Matsuzaki"
    },
    "conversation": {
        "isGroup": true,
        "id": "19:a912215XXXXXXXXXXX96d@thread.skype"
    },
    "recipient": {
        "id": "28:d1161e58-bb62-XXXXXX",
        "name": "caappm bot"
    },
    "entities": [
        {
            "mentioned": {
                "id": "28:d1161e58-bb62-4c03-XXXZ-XXXX"
            },
            "text": "<at id=\"28:d1161e58-bb62-4c03-8303-XXXX\">@caappm bot</at>",
            "type": "mention"
        },
        {
            "locale": "en-US",
            "country": "CO",
            "platform": "Windows",
            "type": "clientInfo"
        }
    ],
    "channelData": {
        "text": "<at id=\"28:d1161e58-bb62-4c03-8303-XXXXZ\">@caappm bot</at> HI"
    }
}
コードも確認してみよう。ここでは前述したように単純なメッセージを送るsimpleSendMessageを対象にする。
プロアクティブにメッセージを送る際には事前にBotにユーザー情報を登録しておく必要がある。(じゃないと宛先がわからない)
またメッセージに送信する機能も必要だ。サンプルコードの中のConversationStarterがそのための機能を提供している。下記はあくまでサンプルコードなので実際にはどこか永続化できるテーブル等に保存しておく方がよいだろうが、staticな値としてconversationIdやfromName等を保持しているのが分かる。ちなみに使用しているChannlによってはconversationId等の値が変わってしまう。そのため再接続するとプロアクティブなメッセージを送ることが出来なくなってしまうが、Skypeはそのような値をちゃんと保持しているので例えばPCを再起動してもプロアクティブにメッセージを送ることが可能だ。
    public class ConversationStarter
    {
        //Note: Of course you don't want these here. Eventually you will need to save these in some table
        //Having them here as static variables means we can only remember one user :)
        public static string fromId;
        public static string fromName;
        public static string toId;
        public static string toName;
        public static string serviceUrl;
        public static string channelId;
        public static string conversationId;

        //This will send an adhoc message to the user
        public static async Task Resume(string conversationId,string channelId)
        {
            var userAccount = new ChannelAccount(toId,toName);
            var botAccount = new ChannelAccount(fromId, fromName);
            var connector = new ConnectorClient(new Uri(serviceUrl));

            IMessageActivity message = Activity.CreateMessageActivity();
            if (!string.IsNullOrEmpty(conversationId) && !string.IsNullOrEmpty(channelId))
            {
                message.ChannelId = channelId;
            }
            else
            {
                conversationId = (await connector.Conversations.CreateDirectConversationAsync( botAccount, userAccount)).Id;
            }
            message.From = botAccount;
            message.Recipient = userAccount;
            message.Conversation = new ConversationAccount(id: conversationId);
            message.Text = "Hello, this is a notification";
            message.Locale = "en-Us";
            await connector.Conversations.SendToConversationAsync((Activity)message);
        }
    }
メッセージ送り元の実装も確認しておこう。CustomWebAPIControllerクラスのConversationStarter.Resumeを呼び出すことでプロアクティブメッセージを生成して送ることができる。このサンプルでは例えば http://localhost:53675/api/CustomWebApi をGET すればSkypeにHello, this is a notificationといったメッセージを送ることが可能だ。もちろん日本語も利用できる。
    public class CustomWebAPIController : ApiController
    {
        [HttpGet]

        [Route("api/CustomWebAPI")]
        public async Task<HttpResponseMessage> SendMessage()
        {
            try
            {
                if (!string.IsNullOrEmpty(ConversationStarter.fromId))
                {
                    await ConversationStarter.Resume(ConversationStarter.conversationId, ConversationStarter.channelId); //We don't need to wait for this, just want to start the interruption here

                    var resp = new HttpResponseMessage(HttpStatusCode.OK);
                    resp.Content = new StringContent($"<html><body>Message sent, thanks.</body></html>", System.Text.Encoding.UTF8, @"text/html");
                    return resp;
                }
                else
                {
                    var resp = new HttpResponseMessage(HttpStatusCode.OK);
                    resp.Content = new StringContent($"<html><body>You need to talk to the bot first so it can capture your details.</body></html>", System.Text.Encoding.UTF8, @"text/html");
                    return resp;
                }
            }
            catch (Exception ex)
            {
                return Request.CreateErrorResponse(HttpStatusCode.BadRequest, ex);
            }
        }
    }
ここではシンプルなプロアクティブメッセージを送信する実装を解説したが、メッセージを送った後にDIalogを開始することなどより複雑な処理も可能だ。ぜひサンプルコードを参考に試してみてほしい。