Disable banner ads in Skype for Windows
When you're talking with friends, family, or coworkers, the last thing you want to be annoyed by is an advertisement.


Before the many updates to Skype post-Microsoft acquisition, simply disabling the promotions options in settings was enough to rid your conversations of unnecessary spam. However, a new banner ad has made its way to the conversation window. This ad wouldn't be such a bother if it didn't often cut into the video feed area when going full screen. Thanks to Reddit user N19h7m4r3, you can disable ads through just a few steps. Here's how:
For Skype 6.x

Step 1: Head to the Control Panel and click on Internet Options. This settings area may be hidden under Network and Sharing Center if you don't see a direct shortcut for it.
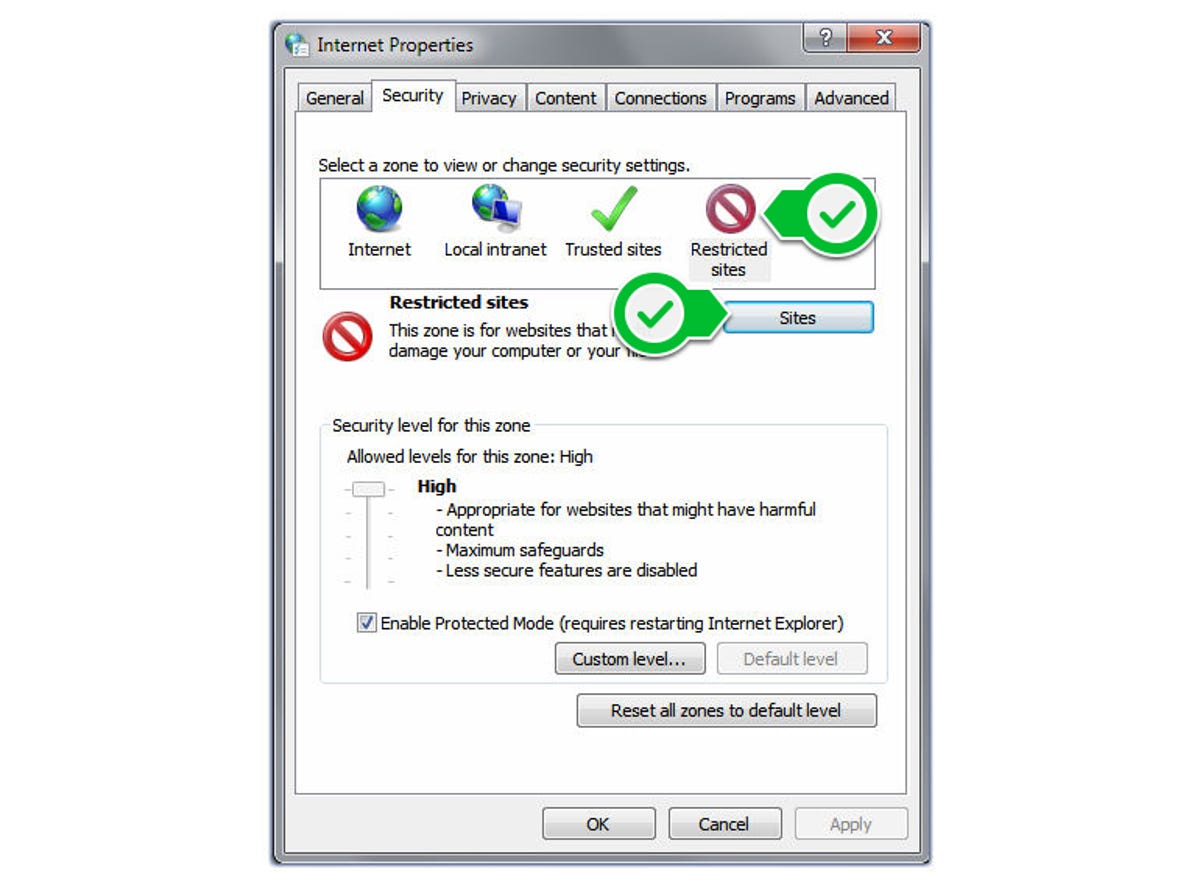
Step 2: Click on the Security tab and select the Restricted Sites icon.

Step 3: Press the Sites button and type https://apps.skype.com in the text box, then press Add.

Restart Skype for the changes to take effect.
For Skype 7.x
If you have updated Skype and the above options are not removing ads, you may need to perform a few extra steps to finally rid of the advertisements in your client. Here's how:
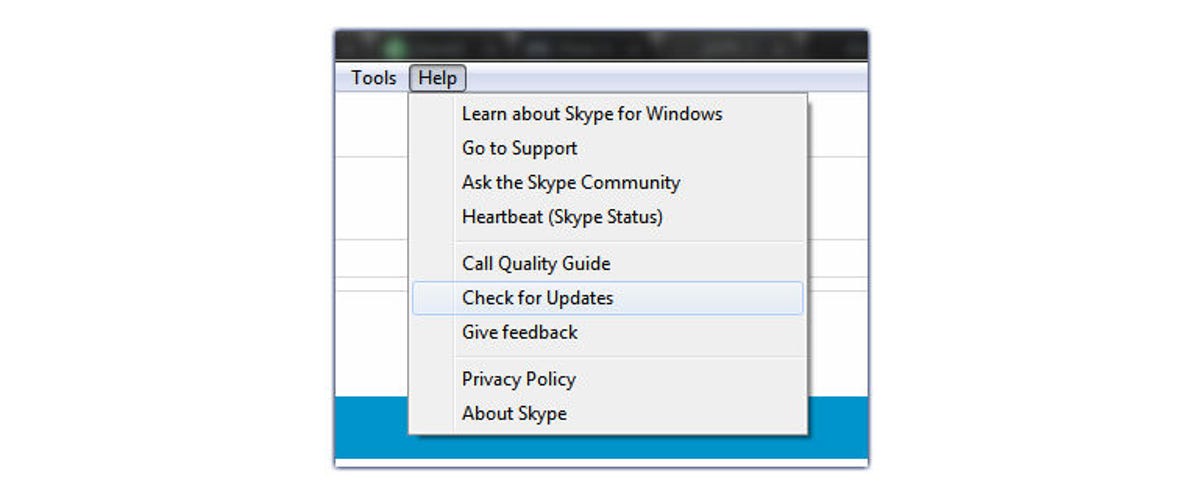
Step 1: Make sure your Skype client is up-to-date by going to Help > Check for updates. Once finished, completely exit Skype.
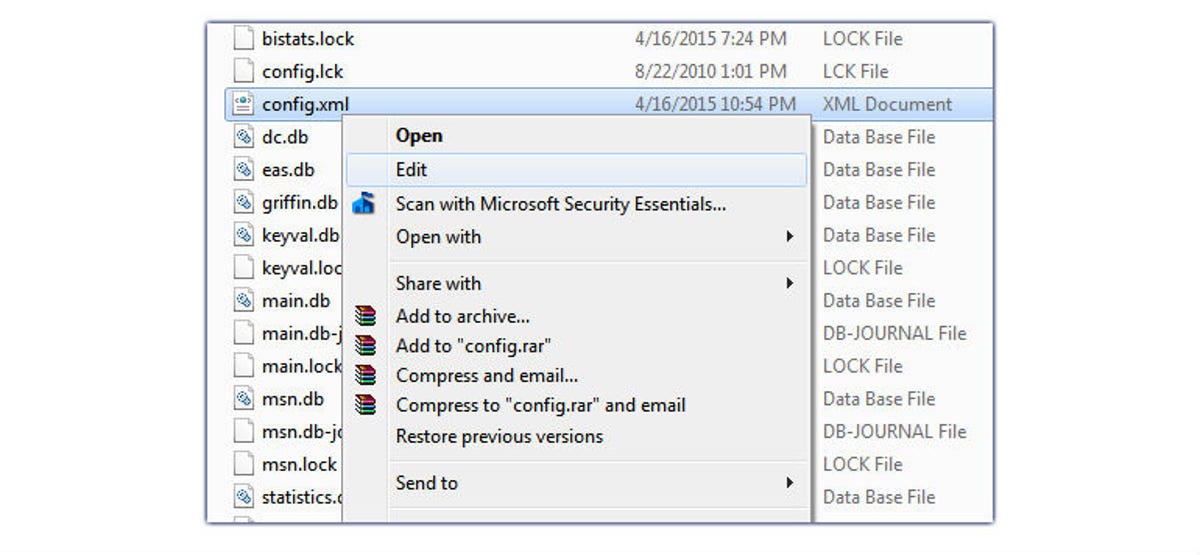
Step 2: Head to C:\users\[your user name]\App Data\Roaming\Skype\[your Skype username]. You should see a config.xml file in this directory. Right-click it and choose Edit, then find the line that says <AdvertPlaceholder> and delete the entire line. Make sure to save your changes to the file before exiting. You can use Ctrl+F to find the line quickly.
Note: If you do not see the App Data folder, it's probably because you don't have Show hidden files enabled. Click the Organize button > Folder and search options > View tab > mark the radio button next to Show hidden files, folders, or drives.

Step 3: Mark the config.xml file as read-only by right-clicking the file and choosing Properties. Check the box next to Read-only and click OK.
Now your chat window and video conferences will be free of advertisements.
What do you think of the advertisement placement in chat? Share your thoughts in the comments.
Editors' note, April 16, 2015:This How To post was originally published on September 23, 2014, and has been updated to include new information.