DIY Vintage Paper Halloween Wreath
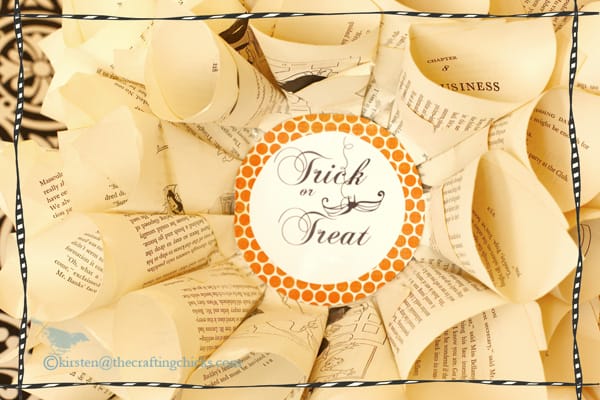
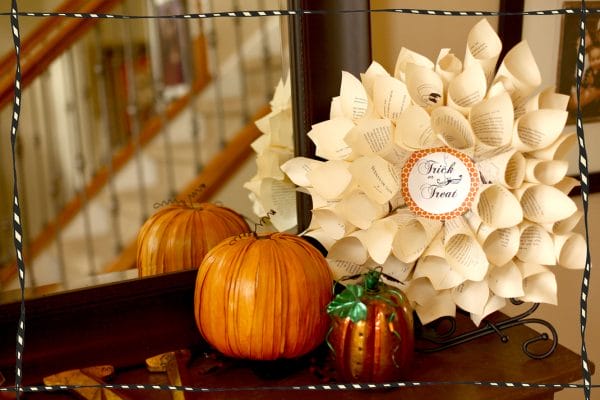
Ok so it’s finally the beginning of October. I have had my Halloween decor up for about 3 weeks, nerdy I know. I am glad October is finally here to usher in all the fun fall things that happen around here: visits to the pumpkin patch, cider and doughnuts, corn mazes, brightly colored fall leaves, and Halloween of course. I needed some more Halloween decor for my house so I had to try out the paper wreath thing. I saw the most darling boutique at Swiss Days in Midway, Utah. They were featuring all these fun paper wreaths. So here’s my version of the DIY Vintage Paper Halloween Wreath!
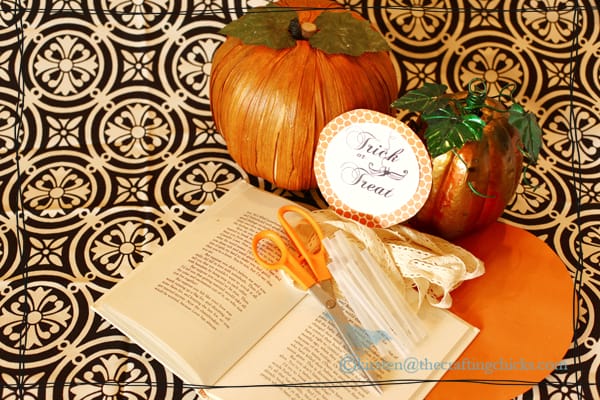
Let’s start with the supplies:
Supplies: glue gun & glue, old book, scissors, Halloween greeting for the center, cardboard circle measuring 14″ in diameter, ribbon, lace or ric rac for hanging
This paper wreath is very easy to make, it’s unique, and it’s really inexpensive, who doesn’t love that! Follow these simple steps:
1. Cut out a piece of cardboard that measures 14” in diameter. You can use any kind of template like a plate charger or a large salad bowl.
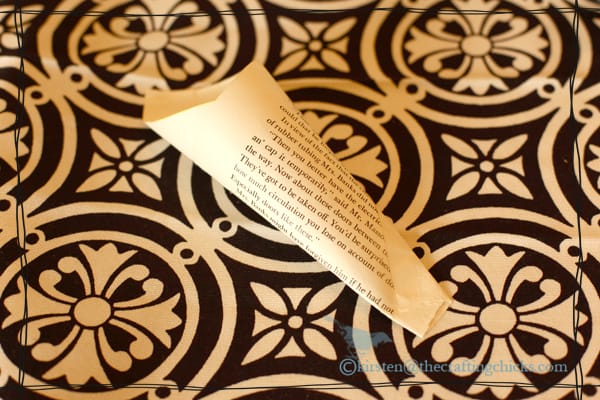
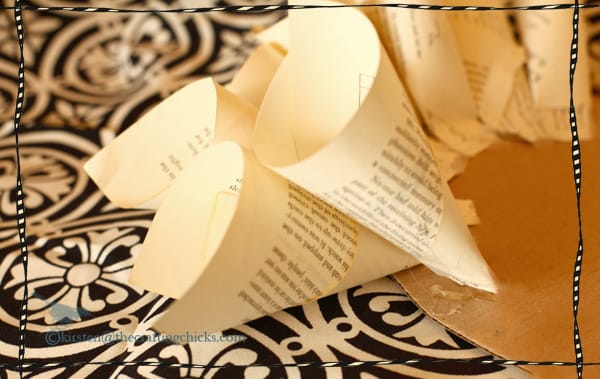
2. Make approx. fifty paper cones from the pages of an old book, the pages for this wreath measure about 5”x 8.5”.Take each page and wrap it into a cone shape and use double sided tape to secure it.
3. After all of your cones are made, begin on the outer edge of the circle and secure those two-thirds of the way off the cardboard with centers pointing to the middle. Take each cone and bend each one 1” from the point and secure on cardboard with tape or hot glue. Work your way around and then to the center.
4. When you have all the cones secured to the cardboard and a 5″x5″ center spot left open for your Halloween greeting (or however big or small you want to make it), then create your 4” x 4” greeting using decorative paper or design your own on Photoshop and hot glue it to the center of the cardboard. (credits: Crystal Wilkerson designed the string the spider is on. The spider was designed by Anna Aspnes 😉
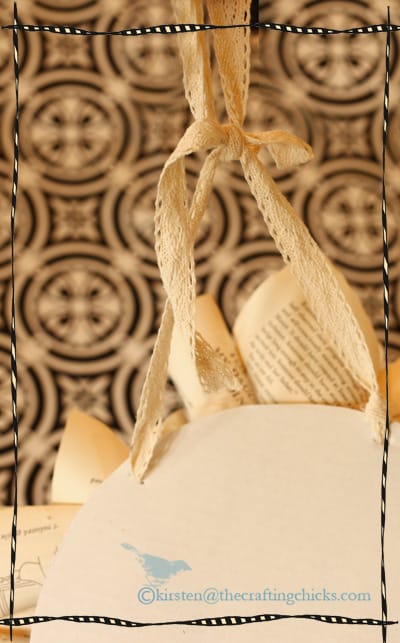
5. Finish by hanging with ribbon or lace. Way to go, wasn’t that easy!
You can also put it on an easel and display it like this:
Hey thanks for checking us out and Happy Crafting!! What kinds of fun new crafts have you seen this fall?
xoxo
Kirsten

Love that!! 🙂 Great job!
Adorable – can’t wait to make my own!!
For sure send a link when you do, we would love to see it!
I love this!! Cute!! You should link up to my Craftify It Thursday post!
http://lebedafamily.blogspot.com/2010/10/craftify-it-thursday.html
Jennifer @ Life with the Lebedas
This is too cute! I’ll have to do something like this in the future for my entryway table (once I FIND that entryway table, that is – I’m still remodeling!).
LOVE it! Following you now in my Google Reader. Lately I love anything to do with vintage paper.
Me too! I can’t get enough of it!
I featured your quiet book over at Sassy Sites! Stop by and check it out! OH… and don’t forget to grab a FEATURED button!! Cute blog you have here! xoxo
This is so cute and I especially love the last picture and how you placed it with your other decorations. Really unique. I am really enjoying having you on my Google Reader! I am a relatively new blogger and just gradually learning of these things!…Suz
You are so sweet!! Welcome to Blogland, we are so glad you are enjoying our blog, we have a really fun time doing all these fun crafts! Stick around 😉
So cute!! What a fun way to make a wreath. You should peek over at my website for some fun Fall/Halloween crafts. http://www.thoughtsinvinyl.blogspot.com
Yes, it IS so cute, and yes, you ARE a nerd. xo
Love this! Saw it on One Pretty Thing… going to try to make one myself! malia
What can you use instead of a hot glue gun?