Christmas Cards with Monika Wright
Howdy to all you Crafting Chicks followers! I’m Monika Wright and a regular reader here and happy to be back here guest posting. I love to craft as well and you can see what I’m up to on my blog, i love it all.
With only 53 days until Christmas, it’s really not too early to be thinking about your holiday greeting cards. Really.
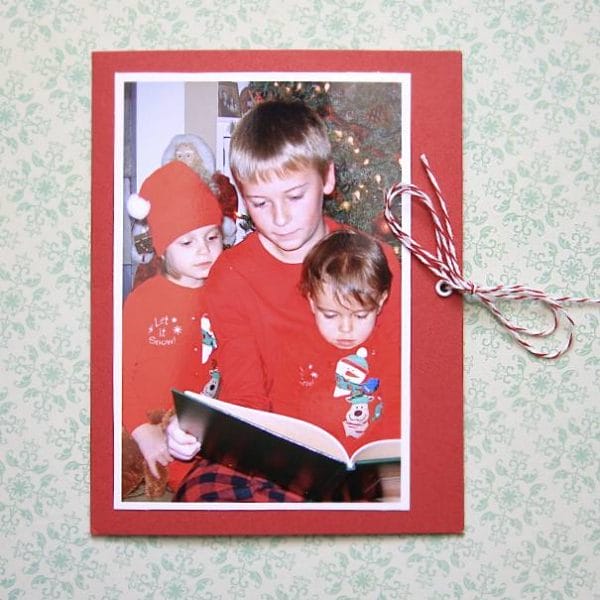
Don’t groan, don’t roll your eyes…you know I speak the truth, especially if you like to create them yourself. I love to include a photo with our Christmas cards, so I added one to the front of this card. If you aren’t able to get photos to send with your Christmas cards, you could just as easily use these as thank you cards with the photos you take on Christmas morning!
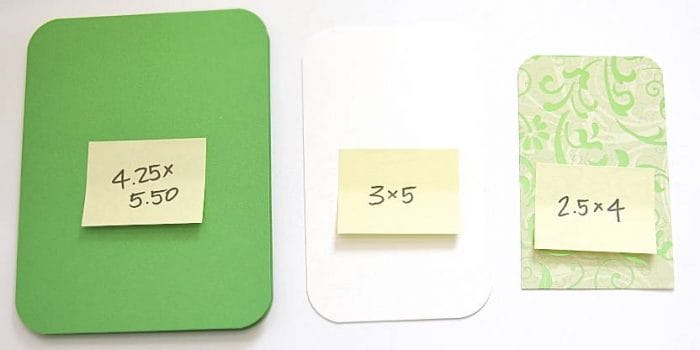
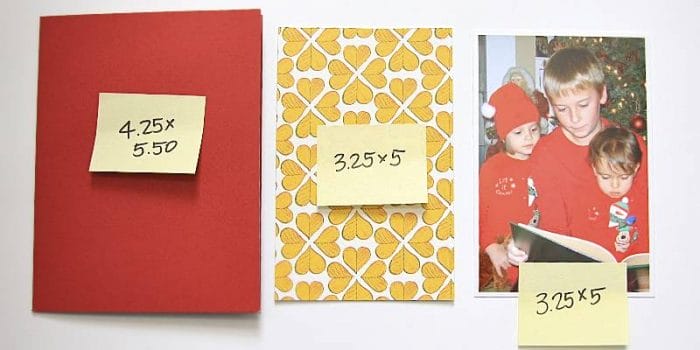
I am using 4.25 x 5.50 cards, which is a standard size. Blank cards can be found at Hobby Lobby, Michael’s and Target. In the photo above, the first item is your blank card, next is the white card-stock base for our insert and lastly, the green patterned paper is to embellish our calendar base.
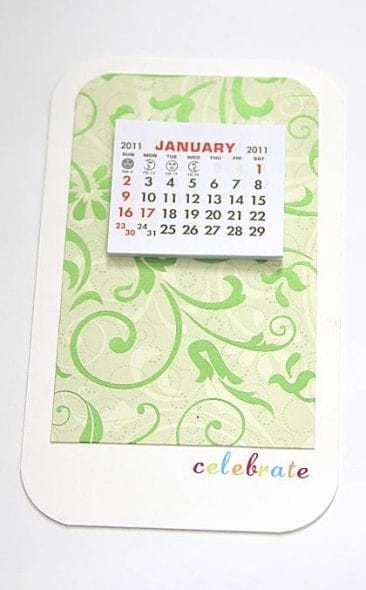
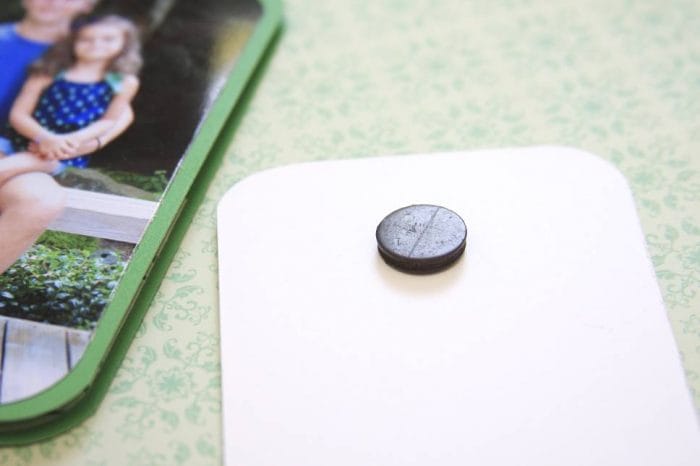
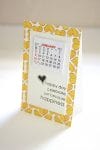
Round all the corners of your card and calendar bases and only the top corners of your patterned paper. Adhere the patterned paper to your white card stock calendar base adding your calendar as the last step. Search through your rub-ons and choose a sentiment that would be appropriate to display all year. Adhere the rub-on, leaving room to add your handwritten holiday message. Now, add your magnet to the back of the calendar base.
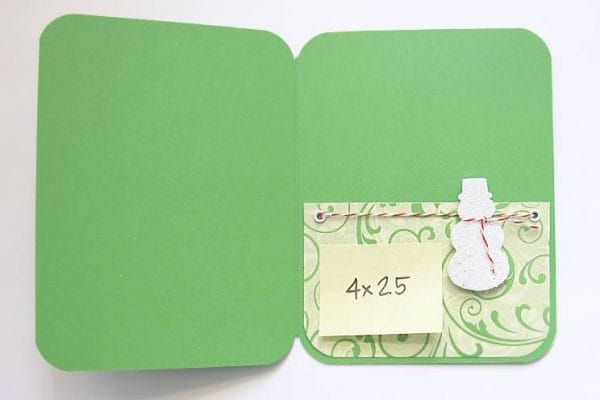
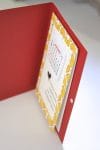
Hmmm. What are we doing to do with this calendar now? We’re going to make a super cute pocket inside our card to place the calendar into. That way, our Christmas card is a card and a gift to enjoy all year long! Plus, you included a photo…how can you go wrong with that?
Cut your patterned paper to size and round the bottom two corners. Then, choose where you’ll be placing your grommets and adhere them. I don’t have a long reach Crop-o-Dile, so I had to use my paper piercer to punch a hole in the left side of the card to thread my baker’s twine through.
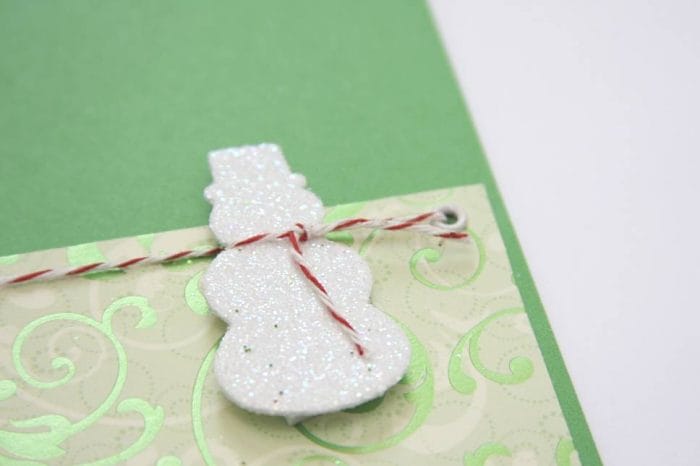
Then adhere the pocket you’ve made to the card. Thread your baker’s twine through the holes and attach your choice of a glittered foam embellishment or maybe even a chipboard shape.
Would you like to see another version of a calendar card?
PLEASE NOTE: patterned paper finished size is 3.25 x 5, unfolded it is 3.25 x 10!
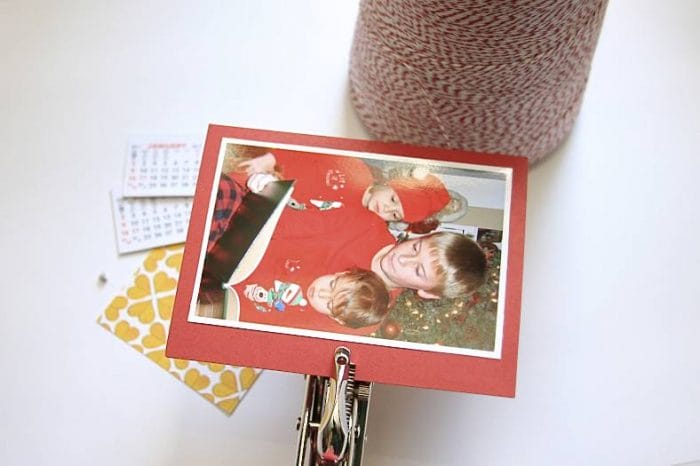
Let’s move our photo to the left side of this card, leaving a border on the right, allowing us to punch a hole and add a grommet to both front and back panels of the card.
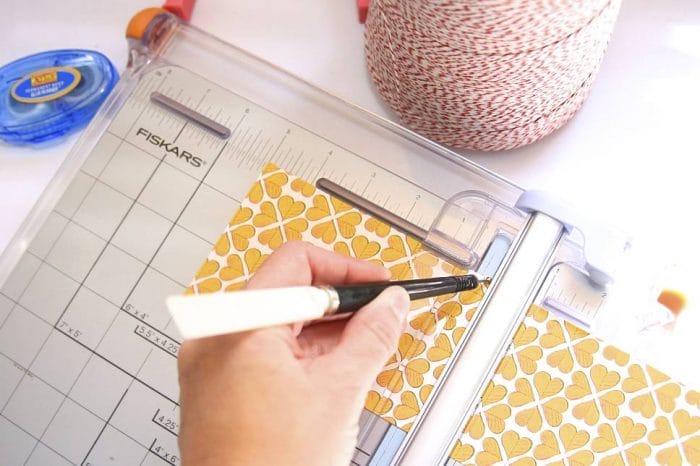
Now, score your patterned paper that is 3.25 x 10 inches long and fold to end up with a 3.25 x 5 inch piece of paper. You can adhere your calendar directly to the patterned paper or take a scrap piece of white card-stock as I did, add some rub-ons and then adhere the card-stock and calendar to the patterned paper.
I used a removable glue dot on the back of the calendar tent to adhere it to the card, allowing the recipient to detach the card and display it on a desk.
Here’s how your card will look tied with baker’s twine before you place it into its envelope.
For sticking with me to the end, let’s have a giveaway! The winner will recieve this print from my Etsy shop, i love it all.
I would also like to offer any Crafting Chicks reader a 20% discount on any one item, before shipping, in the shop www.iloveitall.etsy.com. The 20% discount will be good through Friday, November 19th. Just mention CraftingChicks in your Message to Seller on Etsy.
I had fun sharing these tutorials with you and I do hope you’ll stop by for a visit with me at my blog i love it all where I have more tutorials and downloads you might be interested in.



Very cute card ideas. And I LOVE the poster!! Love it!!
For someone who is crafting-challenged like me, I think I might be able to handle these cards which is inspiring! Thanks for sharing.
Cute cards! I never have enough time to make cute cards to get out for Christmas. Maybe I should start in August! And I LOVE the poster. So adorable!!
Very cute card idea. I tried going to the ‘i love it all’ blog, but neither of the top or bottom links worked. The Etsy shop link did, just not the blog links.
All the links are working now…so glad you like the card!
Love those calender cards – great idea! Would love to win the print too – very nice:)
those cards are great! im thinking of buying some cards, and making some for close family and friends….
i love the poster print! thanks for the giveaway!
*kelly
Wow what a great idea! And I love the subway art print too!
I love the cards and the print. Thanks! ~Heathere
Love the calendar card idea! And the print is awesome. 🙂
Super cute cards!
what a cute card. I love it.
What a great Christmas gift/card! I love it
I LOVE that print!
Great post, Monika! I love the little mini calendar idea, very cute! And I love that print too! 🙂
Great card ideas! Love the print too!
what a cute card!! and print of course
Super cute!
What a great christmas card idea…so original! Love the print too.
thank you for the tutorial! you made this cute and useful card look so easy. easy enough for me to give a try. thanks!
Such cute cards! I love the idea of creating a pocket inside.
I love LOVE LOVE the poster! How cool!
I love both the cards and the poster!
I absolutely love that poster! Cute card ideas too. Thanks for sharing.
Those cards are great!
too cute! thanks for the ideas… hopefully i’ll get something out this year!
What a cute idea. Where would you find calendars like that?
I will have some of them listed in my Etsy shop {www.iloveitall.etsy.com} Friday morning, in two different sizes. Thanks for asking!
Wonderful tutorial, great cards!
I love the poster!
I LOVE the poster print. I have been thinking about doing something like this for my house. What a cute idea! I love your cards too. Thanks for posting today on our site 🙂
Those calender cards are so clever! Love that print too!
I absolutely LOVE that poster. The card was a really cute idea too.
Where did you get the calendars? I love this idea!!
Hi Haley!
I am listing the calendars, in two sizes, in my shop Friday morning!
iloveitall.etsy.com
Thanks for asking, glad you love the ideas!
Cute-so!!! Thanks for sharing!!
Love, love, love the subway art.
What a darling poster! Thanks for the ideas!
Thanks so much for the tutorial. I loved it. The print is so simple and so perfect – thanks for sharing.
I love the cards and that would make a really cute gift. I also love the print
Thank you so much for the easy to follow directions. I’m new to paper crafts & often won’t try something simply because I can’t figure out/understand what the person did.