
Since I was going to be on stage in front of 2500+ women I thought it was a good excuse to go get a new outfit…or at least a top. However, I always have a 1 and 2 year old with me. Trying on clothes with those two is basically impossible. I tried working out at time to go shopping with Chris’ schedule, but he worked late nights and stores were closed by the time I could have gone. Since shopping wasn’t in my future I decided to take advantage of nap times and make myself a new accessory to wear with an old outfit….I made a cuff….also known as a wide fabric bracelet.
Disclaimer: Here is my annual “I don’t really know how to sew” disclaimer. I have never used a pattern, I don’t know technical terms, I am sure there are 100 ways to do this easier…you can take my rough instructions and perfect it.
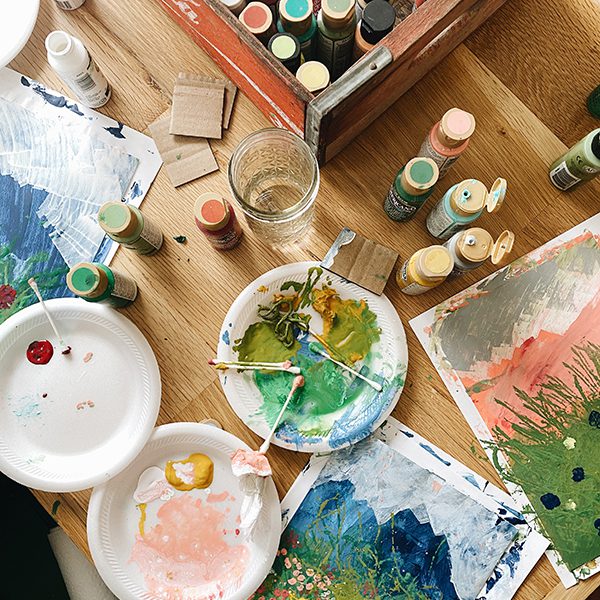
Supplies:
Fabric – I used an old headband and a scrap of heavy quilting fabric scored at an estate sale
Trim – mine, again, was scored at an estate sale
Button – mine was from my button jar (the ones that are replacements in case the original falls off. One day the original will fall off and I will remember what this button is supposed to go on. It will be too late then.
Iron-on fabric adhesive – the kind that fuses on fabric with an iron, double sided
.jpg "11.10cuff-01")
Step 1: Cut fabric to desired length…leaving extra on the ends
Step 2: Iron top band under, pin
Step 3: Sew down top bands long edges
.jpg "11.10cuff-03")
Step 4: Sew down top trim
Step 5: Face tops of cuff together, pin, sew together 2 long edges and 1 short edge
Step 6: Turn right side out, pull out corners using tweezers, iron down (using my kitchen counter turned ironing board)
.jpg "11.10cuff-06")
Step 7: Decide the size of your cuff. Yes, I am so technical….I didn’t use a tape measure for anything.
.jpg "11.10cuff-08")
Step 8: Cut a rectangle of fabric to make an edging on one end of the cuff. Cut iron on adhesive to fit.
Step 9: Attach one side of adhesive, peel off backing, fold down sides like you are wrapping a present
Step 10: Iron it all together so it sticks…this is just to keep things in place until you sew it
.jpg "11.10cuff-10")
Step 11: Sew down edging
Step 12: Create a fabric loop for the button. I just folded over a long skinny piece of the fabric and stitched it down the middle.
Step 13: Measure circumference of button to make sure you don’t make the loop too small
.jpg "11.10cuff-13")
Step 14: Decide where you want to attach the loop
Step 15: Handstitch the loop
Step 16: Sew on the button
.jpg "11.10cuff-16")
The inside of mine looks pretty rough, but I was making it up as I went. Next time I think I’ll use snaps or figure out a different way to attach the loop and button so you can’t see in on the underside. I used the large button to hold down the other end. It is far from perfect, but it works.
.jpg "11.10cuff-19")
.jpg "11.10cuff-22")
Chris asked if I thought someone might take this design and sell it on etsy….if you do, just send me a version to enjoy!
.jpg "11.10GiveawayDay")


HollieI can’t wait to make one – love the shoes – I have them too! Thanks for the instructions…
Shannon PhillipsI Love it! I have an arm cuff bracelet from Target that I wear almost every day. Now I have lots of ideas swarming in my head to make some of my own. Thanks for the inspiration. I won’t be selling them on Etsy but I will keep them for myself or give them as gifts.
(My Christmas crafting list is getting out of control!)
Krista @ Blue Eyed YonderYour endless creativity amazes me. What a fabulous DIY, so hip and chic. I am a sucker for anything with buttons. I just scored a big jar of colorful vintage buttons. I might just have to try this one out. Thanks for sharing!
Lori PlylerGreat cuff! I love the fact that you used what you had on hand. I’ll be bookmarking this tutorial for future fun. Thanks.
JoLynnThat cuff is cute! And so are the shoes in the background…I am admiring them and wondering where you got them from? 🙂 Very cute!!
RebeccaA clever and wise way of using nap time.
ShannonI love it! And I really like those shoes too, where are they from?
DanielleThat is so cute! I just wish it was as easy to sew as you make it look! My sewing machine hates me…
Aunt SandyYou know, for someone that has never sewn before, you are putting us ole timers to shame. Another great idea to add to your growing list of amazing DIY’s.
TiffanyI make ruffle cuffs and sell them on etsy! etsy.com/shop/oopsadaisydesigns
SOOOO cute 🙂
Sarahoh i love cuffs! Your’s looks great and i love that fabric! i’ve been wanting to make one out of leather; i’ve been waiting to score a great real leather belt at the thrift store to make one with…still patiently waiting:)
melissalove your blog! When I was Christmas shopping on etsy I found these http://www.etsy.com/shop/ponderandstitch … very similar and very cute! Thanks for sharing your ideas I always love them!
Annaso cute and creative! love it!
the whyte houseOh, Ashley…your MacGuyver sewing skills make me smile.:) Very cute!!
TriciaOh good golly, that’s adorable!!
ashleelove this cuff!! the fabric is amazing:)
ashleeI love this cuff! it is so so cute:)
amberThat’s so great! Especially seeing that there are others in the world who get an idea, then get to it in hairy ways:)…but I think it looks perfect just the way it is! Thanks for sharing…
Alysoni totally love this cuff… i’m excited to scour through my fabric scraps for a cute color combo.
but, my favorite part? the mustard yellow ruffly-toe shoes from target in the top photo, that i’ve been tearing my closet apart to find… i think i probably gave them away. i used to wear them almost daily. they were my favorite! ah, the perfect yellow shoe… 🙂
TatiI like it!! I’m a little clumsy, but maybe I try 🙂
CassiThat one turned out really good. The yellow pattern fabric is great!
Kate @ Songs Kate SangAshley, this is beautiful! The vintage fabric is lovely. Your attitude about someone taking your design is amazing. It challenges me and humbles me. You are so giving and gracious.
p.s. your annual disclaimer encourages me. It makes me want to get a sewing machine and go for it!
Laurie Jlove the cuff and think you are so generous to offer your creativity to etsy crafters. I’m sure someone will recreate it! Me–I can’t sew to save my life but am wondering if it could be made with a glue gun? 😉
RachelI love it! And the fabric and embellishments you chose? PERFECT! Thanks so much, I’ll be linking.
e l l aWell Miss Ashley,
I think you need a fashion category on your blog now 😉
Super Cute!
AllisonLooks great! You should sell those on etsy!
Krista Lundvery cute idea and it would make a great gift!
margaretCute! What a great gift idea for two nieces that I’ve been racking my brain about!
AubreyYour husband thinks like mine. He’s been bugging me to start an etsy shop for awhile now. I like the shoes too. Where are they from?
gioziI like it. I’m going to share it in my Facebook 🙂
Tweets that mention diy {fabric cuff} » ashleyannphotography.com -- Topsy.com[…] This post was mentioned on Twitter by giozi, Danielle Huddleston. Danielle Huddleston said: So cute! http://fb.me/KdWISjEA […]
Carolynso pretty! thanks for the idea…now if only I could get my sewing machine to work (the joys of learning a new skill…I just want to yell at my machine even though it is definitely user error!)
P.S sorry for my double up comment yesterday. I think that was computer error!
SeaminglySarahI LOVE the color combos. I feel like I struggle in that area. That or the color combos I put together are for someone else to love and I can covet other’s. Who knows. Great job!
jilli LOVE IT, CAN i BUT IT, i DON’T SEW! gREAT JOB!
jILL
http://WWW.CAMPFUNK.BLOGSPOT.COM
mandiI was thinking of making something like this with a little pocket on it so my sister can slip her key and credit card in when she goes walking (she lives in San Francisco). Wouldn’t that be awesome!?!
KellyYou know what? I was thinking how cute and hip you looked in the photos of you on stage! 🙂 Kelly
Hinged Cuff | VintageAntiqueJewelry.org[…] Cuff […]
Amy K.I made a bunch of somewhat similar bracelets & used a ponytail elastic for the button loop… no worries about it being long enough! I don’t blog, but you can see a pic here: http://pinterest.com/pin/160722280421389307/
DIY Shirt Cuff BraceletDo What You Love, Love What You Do![…] Ann DIYed a project that stuck in my head a while ago. It was the fabric cuff bracelet. Well, I thought I could make my own version with the cuff from these old polo shirts! […]